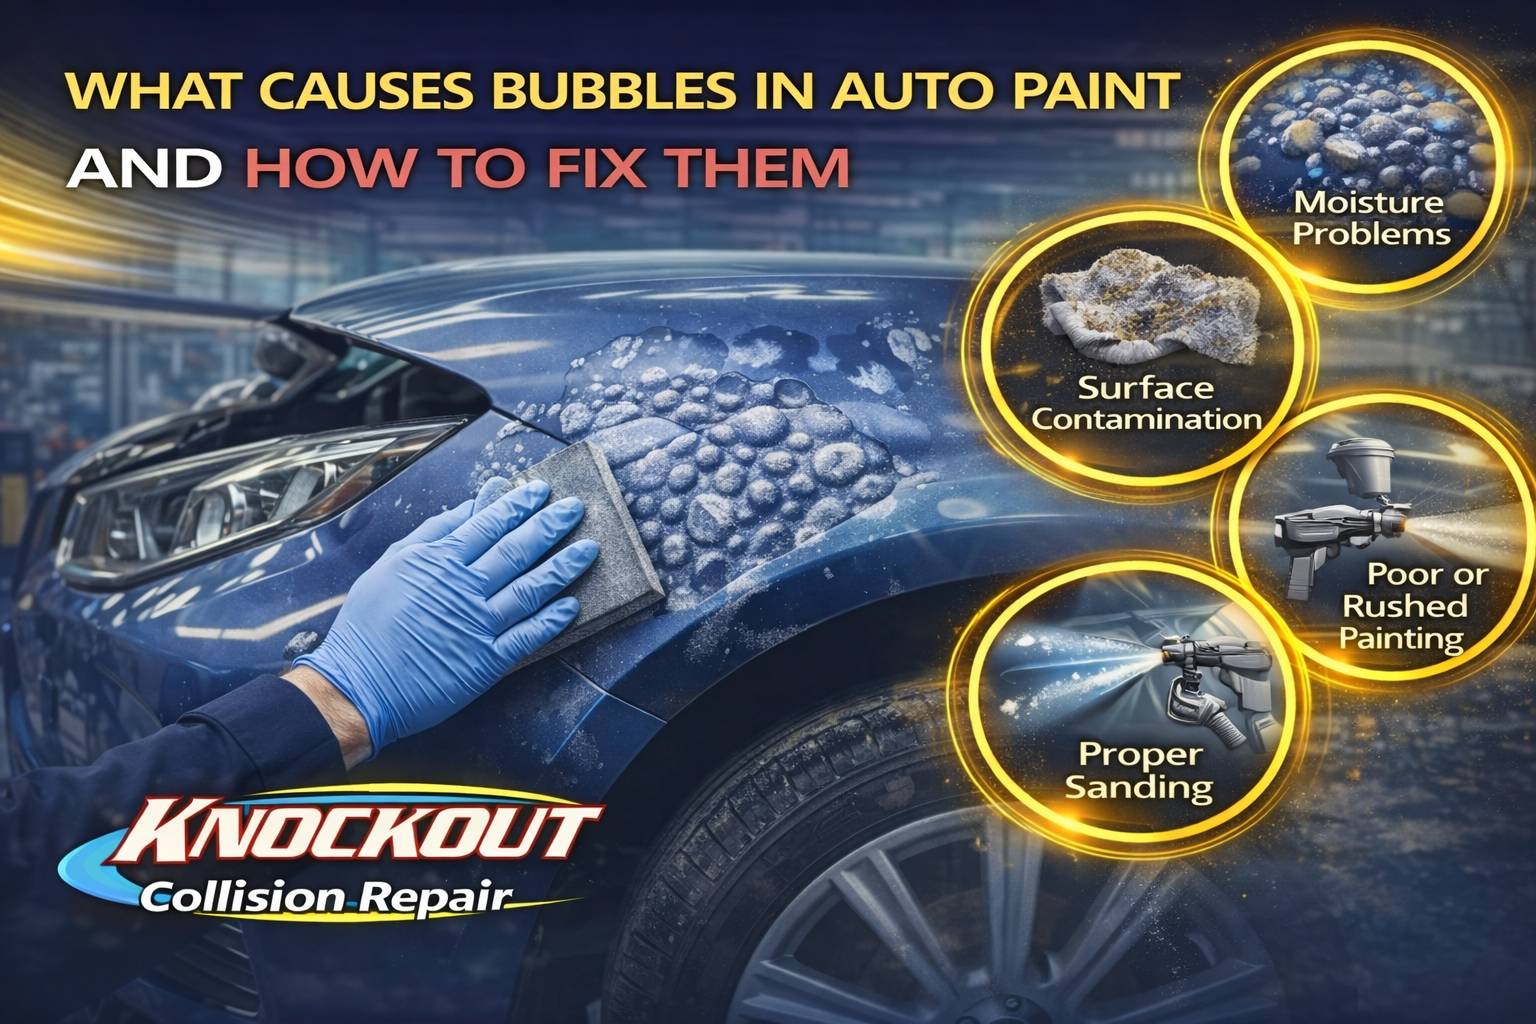
Paint bubbles on your car’s finish look bad and can mess with how long the paint job lasts. They pop up when air, moisture, or junk gets trapped under the paint, making the surface lift and bubble. Figuring out why this happens and how to fix it, can save you a ton of hassle, whether you’re just tinkering in your garage or you detail cars for a living.
What Are Paint Bubbles?
Paint bubbles are just little raised spots that show up on the painted surface. Sometimes they’re there right after painting. Other times, they sneak up later, usually because of weather or sloppy prep work. If things get really bad, the paint can even crack or peel off, showing bare metal or primer underneath.
Why Do Paint Bubbles Happen?
Moisture Under the Paint
Water is a big troublemaker. If the car’s not totally dry before you paint, or if the air’s humid while you’re spraying, moisture gets sealed in. Later, it expands and you get bubbles.
Bad Surface Prep
Skip sanding or cleaning, and you’ll probably have dirt, grease, or leftover paint on the surface. New paint won’t stick right, and you’ll see bubbles or blisters sooner or later.
Painting on a Hot Surface
Painting in the sun or on a hot panel? The paint’s solvents evaporate too fast, trapping gas underneath. As the paint dries, bubbles appear.
Poor Application
Spray on too much paint at once, use the wrong technique, or rush through coats without letting them dry, and you trap air and solvents inside.
Contaminated Materials
Low-quality paint, dirty spray guns, or bad thinners bring in dust, water, or other stuff that stops paint from sticking.
Chemical Reactions
If your primer, base coat, and clear coat don’t play nice together, chemical reactions can lift the layers and cause bubbling.
How Do You Fix Paint Bubbles?
Step 1: Check How Bad It Is
If it’s just the clear coat, you’re in luck. Deeper bubbles down to metal or primer? That’s going to take more work.
Step 2: Sand It Down
Use fine sandpaper to smooth out the bubbled area. Go easy so you don’t wreck the good paint around it.
Step 3: Clean Up
Get rid of all dust and grease with automotive cleaner. The cleaner the surface, the better your next paint job will stick.
Step 4: Prime If Needed
If you sanded down to bare metal, hit it with primer. This protects the metal and gives your new paint something to grab onto.
Step 5: Paint in Thin Coats
Spray on thin, even layers. Let each coat dry before adding the next. Keep your distance and spray technique steady.
Step 6: Clear Coat and Polish
Once the paint’s totally dry, seal it with clear coat. After that cures, polish to blend the repair with the rest of the paint.
How Do You Prevent Bubbles?
Always clean and sand before painting. Make sure the car is bone dry. Don’t paint when it’s roasting hot or super humid. Use good products and tools. Spray in several thin coats, not one thick one. Let everything dry completely between steps.
When Should You Call a Professional?
If you see a lot of bubbling, damage goes deep, or there’s rust, it’s probably time to hand the job off. Professionals have the right gear, perfect conditions, and know-how to make your paint look factory-fresh.
Key Takeaway
Most paint bubbles happen because of stuff you can easily avoid, like moisture, sloppy prep, or poor painting habits. If you know what’s behind the bubbles and tackle repairs the right way, you can bring your car’s finish back and keep it looking good. The secret? A little planning, patience with each step, and an eye on the weather make all the difference for a smooth, long-lasting paint job.